A few weeks back I was tasked with deploying some content to a site collection including a new master page. The requirements stated that upon activation of the feature, the new master page would need to be deployed out to the master page gallery of the site collection. Having never done this before, I set out to find a solution. The solution I came up with uses a feature called file provisioning.
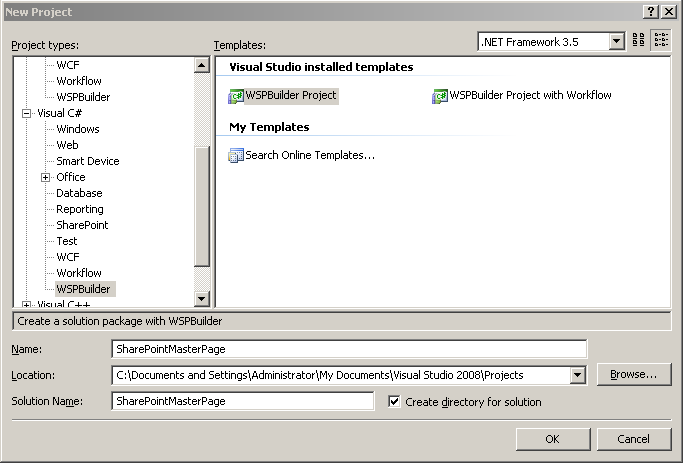
To start, we can create a new WSPBuilder project in Visual Studio and name it SharePointMasterPage:
Next, we’ll add a blank feature to the site called “Custom Master Page”:
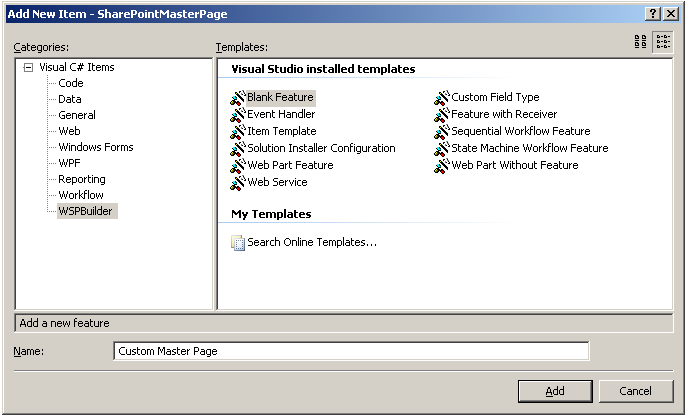
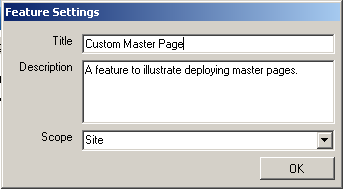
Since this feature will be scoped to the site collection, use the following data in the dialog when it appears:
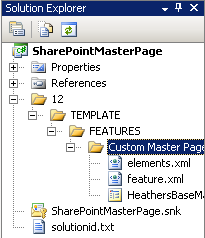
Now that our project structure is set up, we first have to add our master page into the project in the “Custom Master Page” folder located beneath the “FEATURES” folder. For this example, we’ll use Heather Solomon’s Base Master Page so that we don’t have to code one up. After adding the master page to your project, your project structure should look something like this:
Now that we have our solution structure finished, we can begin modifying our elements.xml manifest file to provision this master page out to the master page gallery in our site collection. The following code should be placed in your elements.xml file:
[code language=’xml’]
[/code]
This is quite simple to understand. We are using the Module element to provision files out to the SharePoint server. The Module element has a Name and a Url attribute. The name attribute specifies a user-chosen name for this grouping of files to be provisioned. The Url attribute specifies the relative URL that you would like these files to deployed to.
Within the Modules node, we specify each file we want to provision using the File element. In our case, we only have one file to provision out. This File node has a Url, Type, and IgnoreIfAlreadyExists attribute associated with it. The Url specifies where this file resides relative to the 12\TEMPLATE\FEATURES\YourFeatureFolder folder. The type represents whether the file will be cached on a front-end server or not and if the file should appear in the library it is being provisioned to. IgnoreIfAlreadyExists just means that if the file is found to already exist in the destination library during provisioning, it will be provisioned anyway without any warning.
So now that we have our master page to be provisioned in our project and we have made the appropriate modifications to our elements.xml file, let’s use WSPBuilder to build and deploy this solution out to our farm. Once this solution is deployed, go ahead and activate the feature under “Site Collection Features”.
If the solution has successfully been activated, go over to the master page gallery that you provisioned the file out to and you should successfully see the master page in the gallery ready to be used:
![]()
As you can see, provisioning files out to a library on a SharePoint farm is rather simple. This technique can be used to deploy files out to any type of library on your site. I recently used it to deploy a plethora of images out to an image library for an application I was writing. The one caveat about file provisioning is that upon deactivation of the feature, the files are not removed from the libraries they were deployed to. Stay tuned to learn how to remove these provisioned files in an upcoming article.